In this episode, we finish off the simple cabinet by adding a back rabbet, the back, and a fully parametric shelf.
Parameters used in this tutorial:
Key commands used in this tutorial
|
Step by step:
Adding the back to the original sketch
1. Open the original sketch and double-click on the outside of the case.

2. Use the offset tool to create an offset rectangle .25 inches away or make a parameter to set the offset distance.

3. Close out the sketch. Make the model and sketch visible. Select the inside elements of the rabbet.

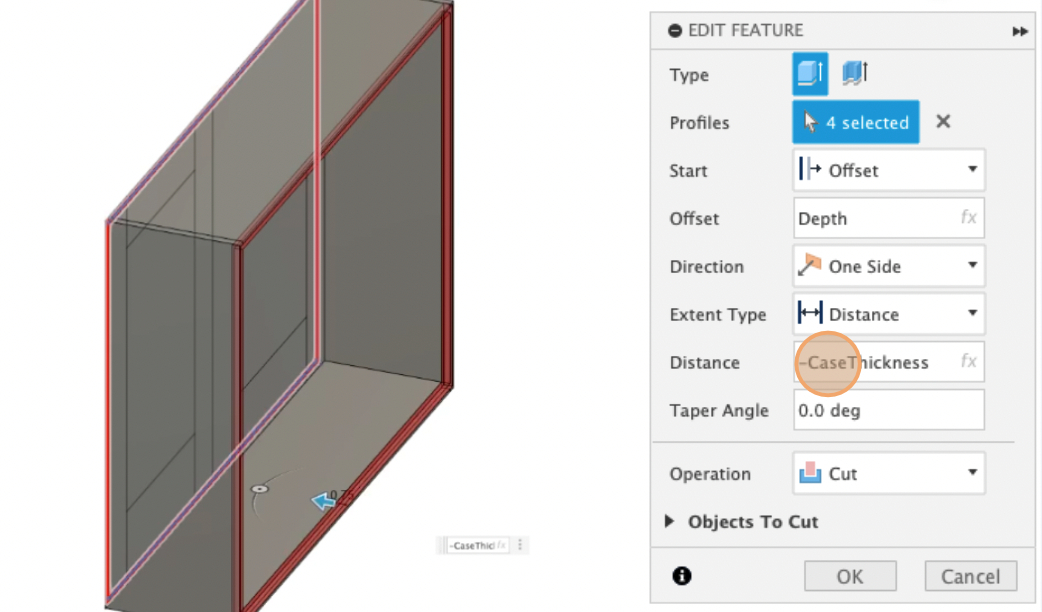
4. Change the start to offset, the offset length to ‘Depth’, and extrude the rabbet as a cut with a distance of ‘CaseThickness”.
5. Show the sketch again and select the segments that make up the back. Extrude the back as a new body nested into the existing ‘case’ component.
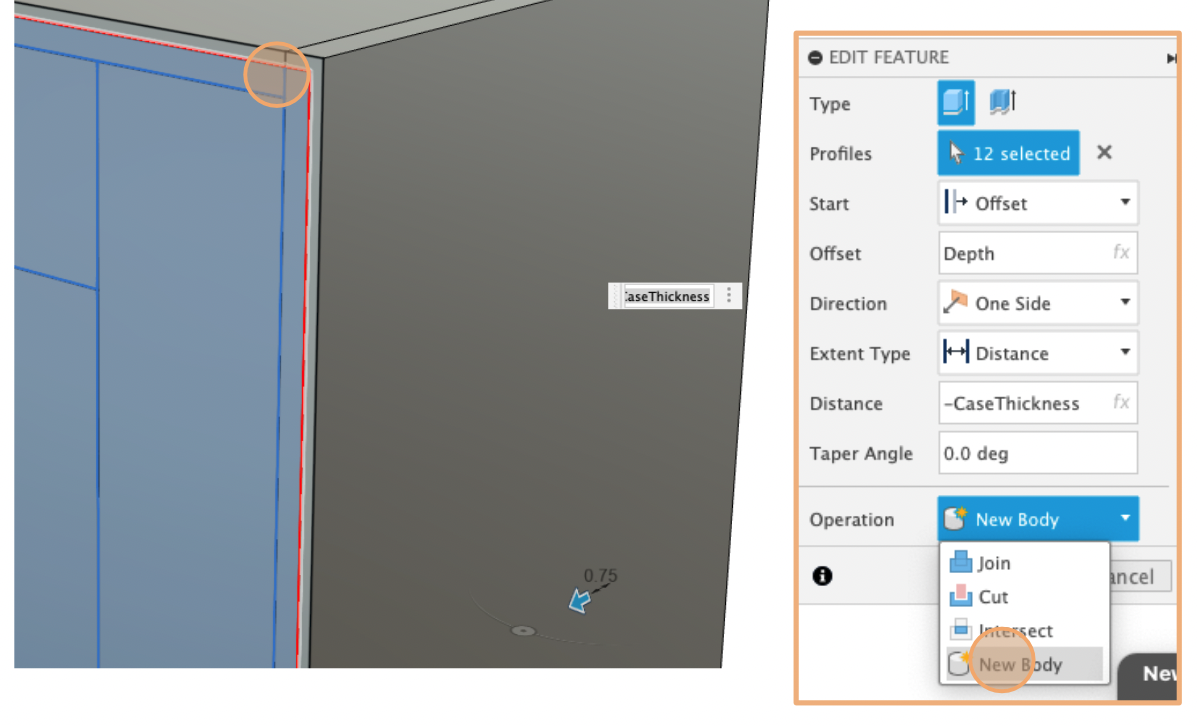
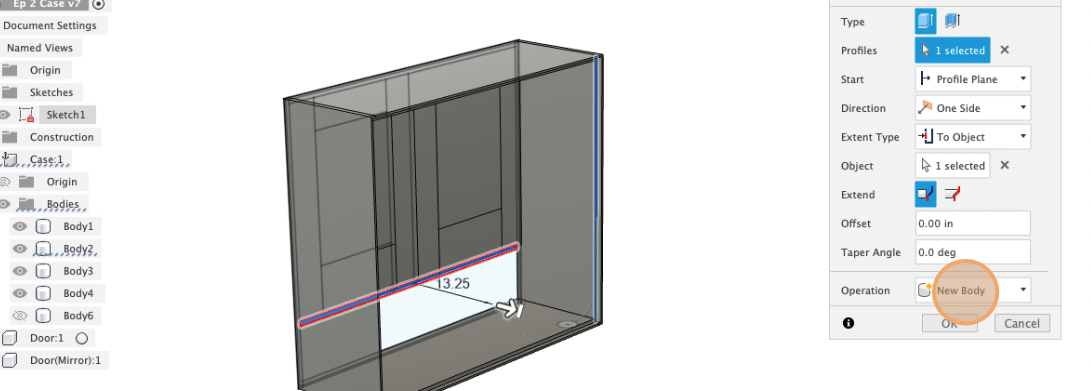
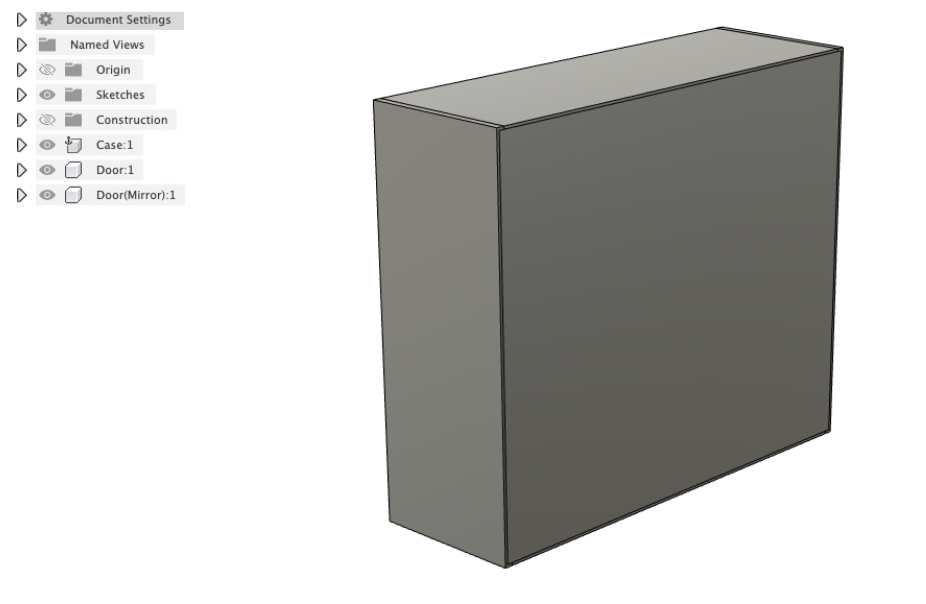
Back complete!
Adding a shelf to the cabinet
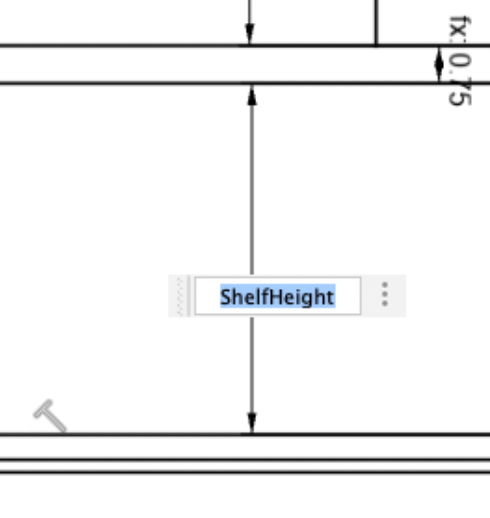
6. Create a parameter for the shelf height. Open the sketch, right-click on the coincidence points connecting the styles to the cabinet bottom, and select ‘Delete Coincident’. Delete the midpoint.
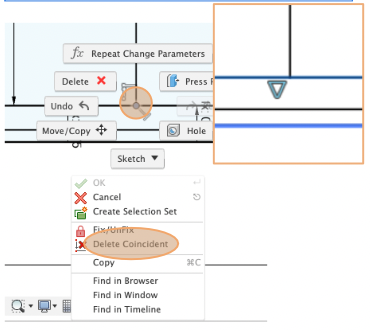
7. Select the newly freed lines and use the ‘equal’ constraint to lock their length together.
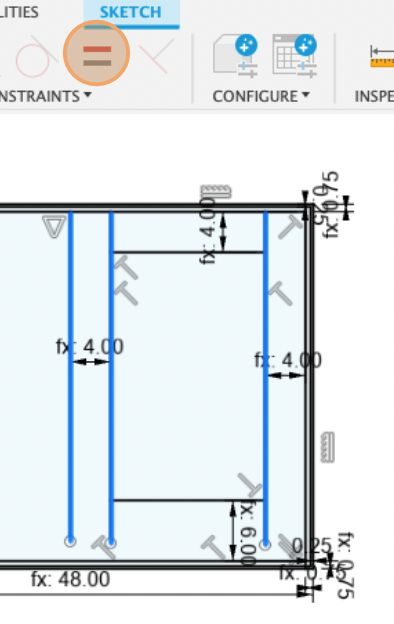
8. Add two lines connecting from one side of the case to the other. Dimension them ‘case thickness’ apart.

9. Drag the style lines down until they snap onto the new shelf line. They are now coincident.
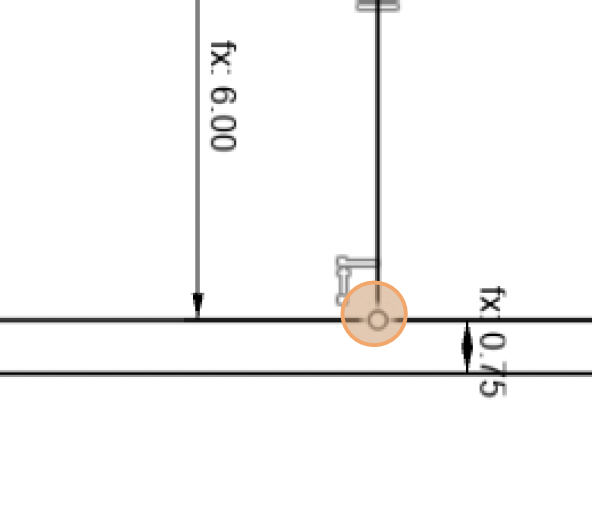
10. Dimension the bottom of the shelf to the top line of the case bottom.
11. Hide the back and extrude the shelf using the ‘To Object’ extent type and select the back rabbet as a new body.
